Hole 1
"THREE SISTERS" - Aim your drive up the left side of the fairway the slope will bring it back to the middle. The green is long and narrow and plays 2 clubs from front to back. Beware the bunker back left.
Hole 2
"DITCHES" - Drive up the right side to open up the green. Take one extra club to ensure you hit the green. The green slopes from back to front anything at the back will leave a fast and difficult 2 putt.
Hole 3
" WATER HOLE "- The line is right of the pond. Note the fenced off OOB area to the right. Take one less club on your approach to a well protected green. Be aware of the public footpath in front of the green.
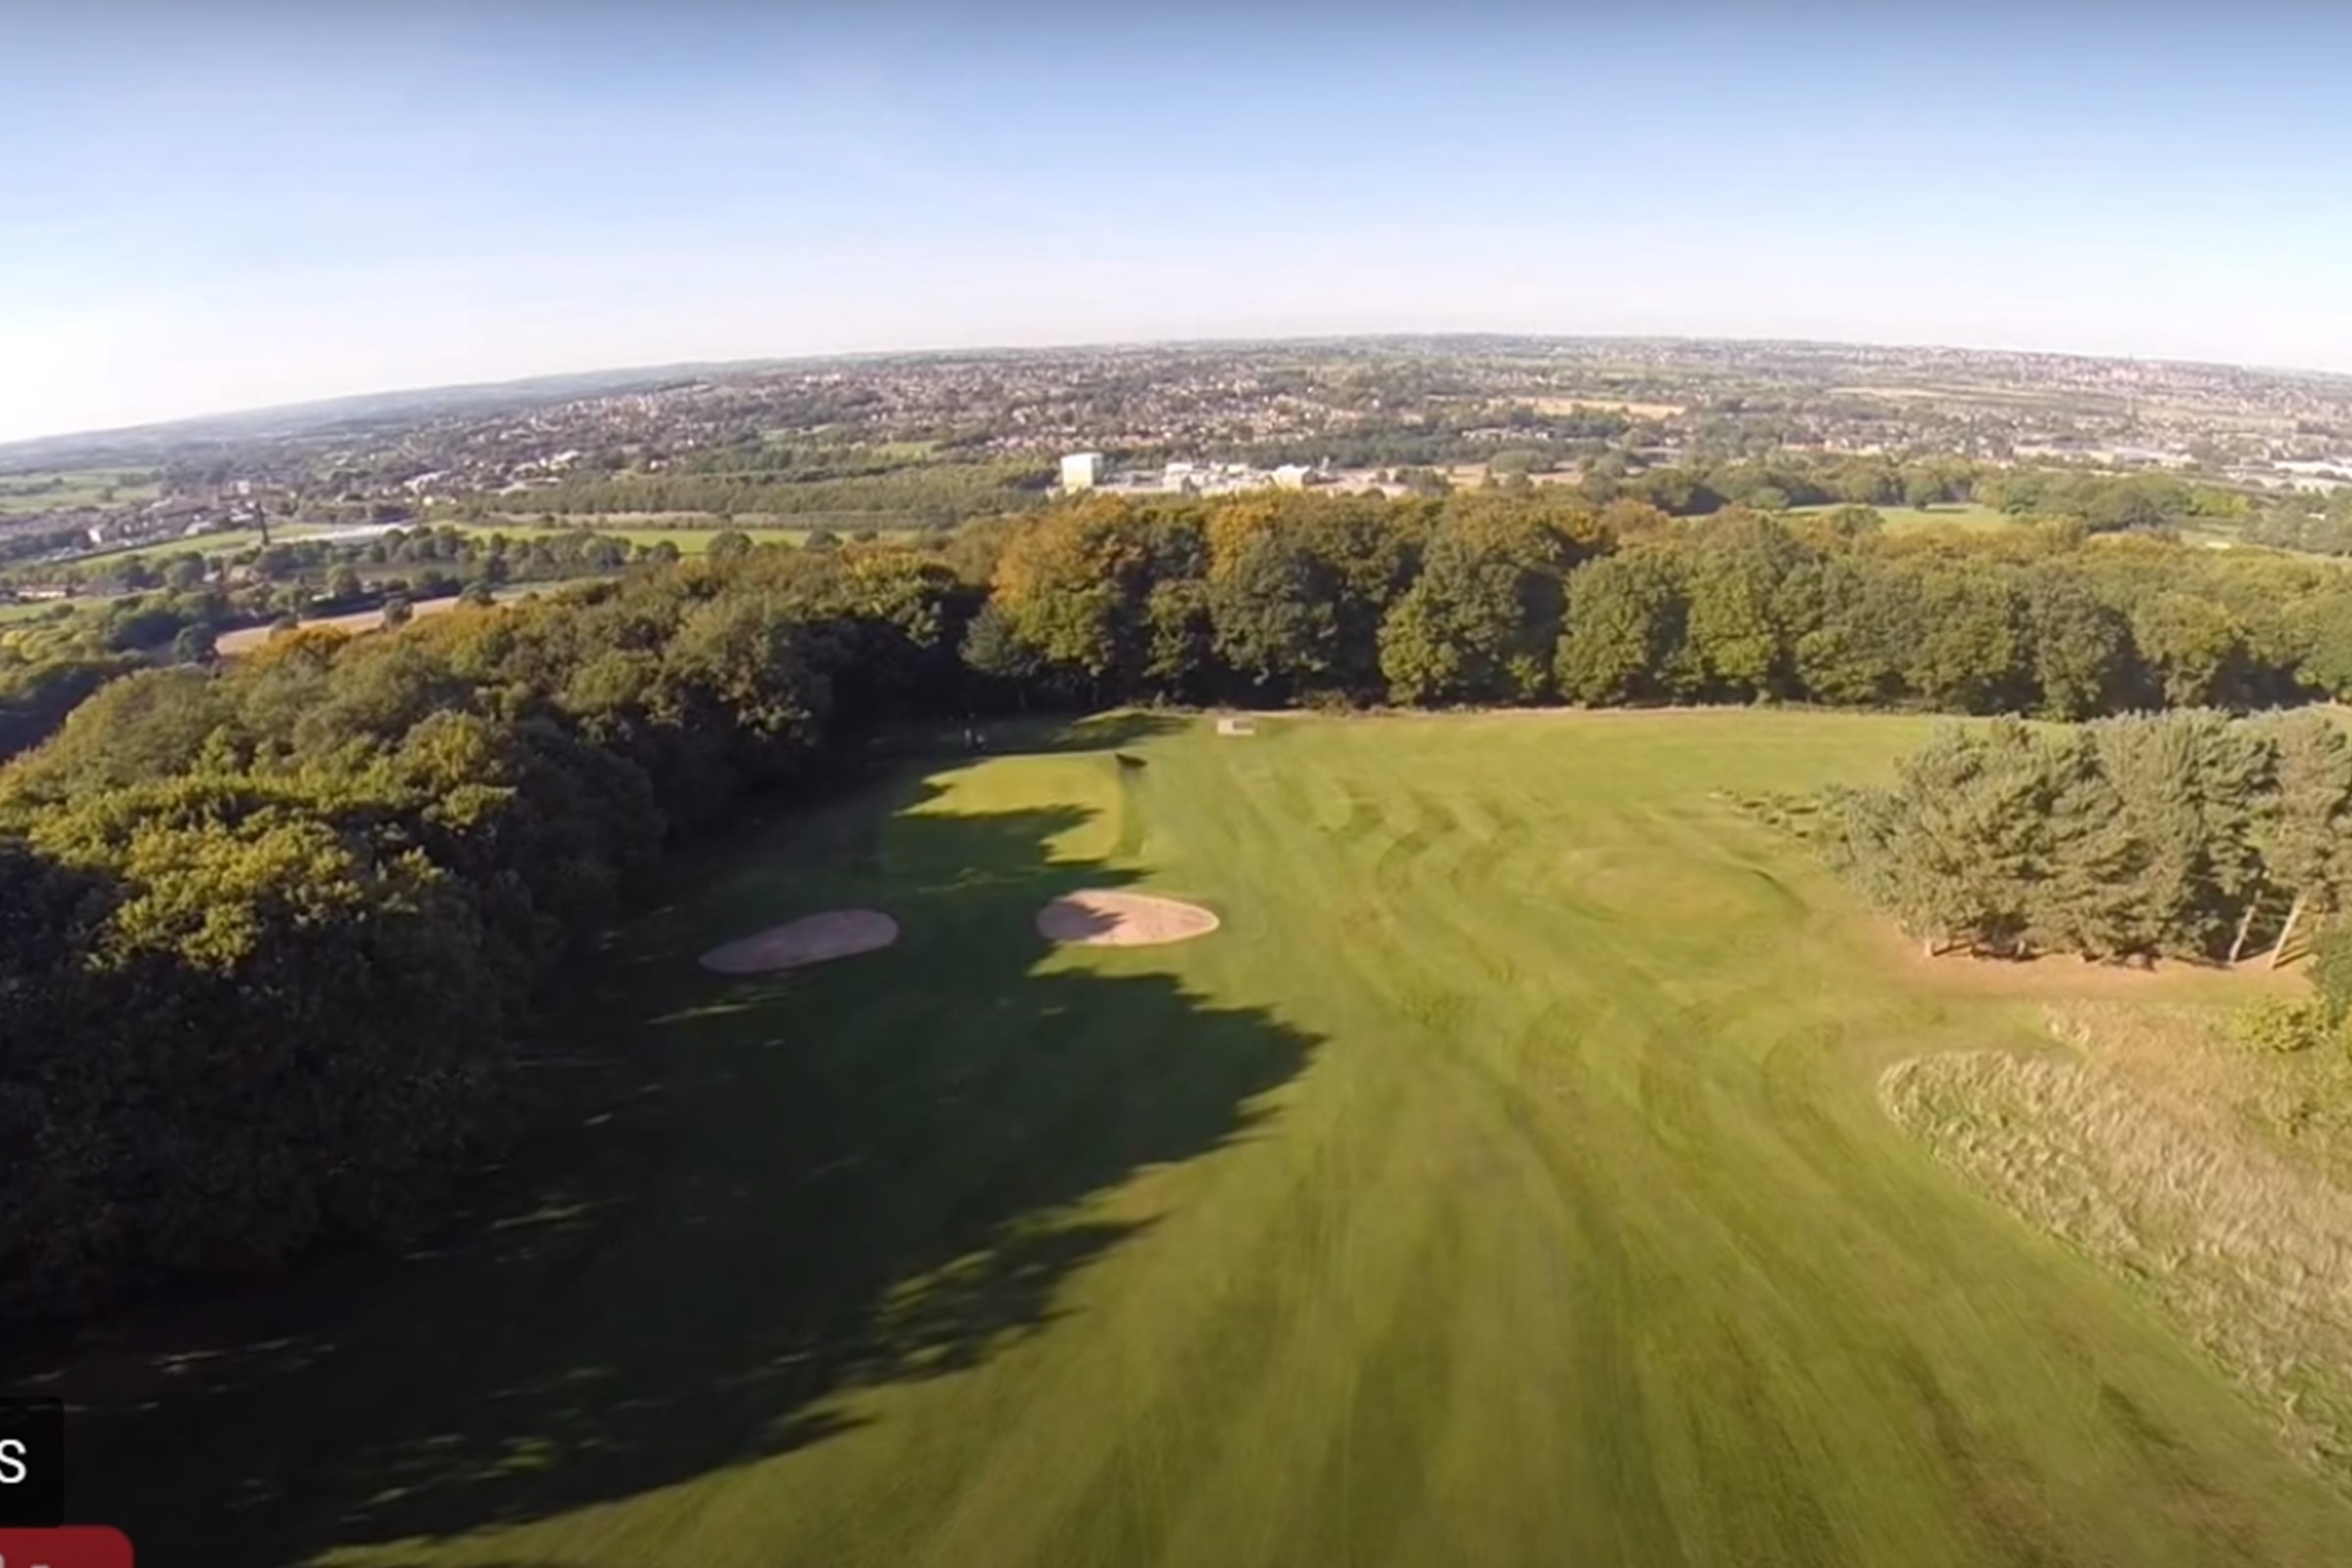
Hole 4
" ROAD "- Your drive must find the centre of the fairway otherwise your route to the green will be obstructed by trees. The approach plays longer than the yards, and with a false front on the green its at least one club more. Give way to players walking down the 5th.
Hole 5
" COFFIN "- The fairway runs steeply from right to left so drive down the right side. Unless you can clear the trees the line for your 2nd shot is right of the pylon in the distance.
Hole 6
" JORDAN " - Aim for the middle of the green. If the flag is behind the bunker take one extra club. One of DDGC s largest greens makes a nice target.
Hole 7
"HILLSIDE" - A drive up the left side the slope will bring the ball to the middle. Your 2nd shot should be aimed at the left side of the green. You cannot afford to miss this green right!
Hole 8
" UP AND OVER " - Aim your drive just right of the marker. The approach plays shorter than the yardage especially in summer when the ground in front of the green is hard. All the trouble is over the back. Ring the bell after 2nd shot
Hole 9
" TOM MORRIS "- The smart play is just to the left of the center of the green. Too far left its OOB...too far right the ball will kick off to the right. The green itself is a Dr. Mackenzie masterwork. Enjoy!
Hole 10
" LONG CAUSEWAY " - A straight drive is imperative. A 2nd shot that carries the path will leave a short iron to the green. You can take the green on in 2 but you will need to clear the OOB and gorse on the right and avoid missing the green left and into the deep rough.
Ring the bell once green is cleared.
Hole 11
" SPIRE " - Aim just left of the marker with your drive to get the best angle to a green protected by a bunker front left and large hillocks on the right. Usually plays with a helpful breeze. Ring the bell after 2nd shot.
Hole 12
" HIGH WIND " - A drive down the right side of the fairway will give you the best approach into a green protected by bunkers front left and right. The wind is at its strongest here so factor it in.
Hole 13
" PINNACLE "- Aim down the left side of the fairway for the best approach to a green protected by bunkers left and right. Miss left and you will likely be in deep rough.
Hole 14
"RIDGES "- The church is the line for your drive. Remember to factor in the wind. Second shot must be hit with accuracy and confidence to avoid catching the down slope and running over the back. The drop in elevation is breathtaking, take a moment to enjoy the stunning views. Please stick to the paths on your descent. Ring the bell after 2nd shots.
Hole 15
" BRANDYWELL " - Aim towards the path next to the 16th tee. With luck the ball will feed between the bunkers guarding the green. You can drive the green but beware you have tall trees, a hazard and deep rough to contend with.
Hole 16
" PINES " - A two tier green that plays 2 clubs more front to back. Take plenty of club as it is uphill and normally into the prevailing wind.
Hole 17
" BUTTS "- From the white tee a real risk and reward hole. The further left you drive the shorter the approach shot but the greater the carry over some lofty trees. Note OOB s all the way down the left side. Ring the bell after 2nd shot.
Hole 18
"COTE WALL " - Take enough club to carry the bunkers. You will need one extra club if the pin is at the back. A classic Mackenzie two tier green and a lovely finishing hole at DDGC.